
The Compact Portable Bar for Any Event
Bar-in-a-Box is a compact, commercial-grade portable bar designed for hotels, caterers, mobile bartenders, and event venues that need flexibility. It folds flat for minimal storage, rolls easily to any location, and sets up in under a minute with everything your team needs for professional beverage service.
Bar-In-A-Box
SPECIFICATIONS
Bar-In-A-Box Dimensions:
Open 36 1/4″W x 23 1/4″D x 46 1/8″H
Closed 36 1/4″W x 5″D x 52 3/4″H (Weight 75 lbs.)
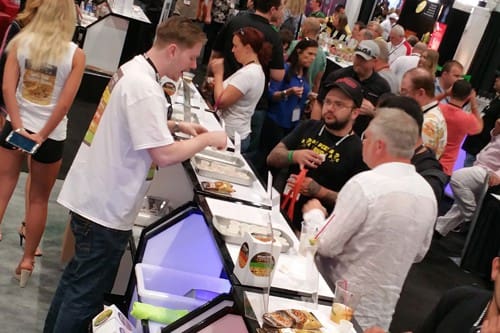
Why Choose A Professional Portable Bar?
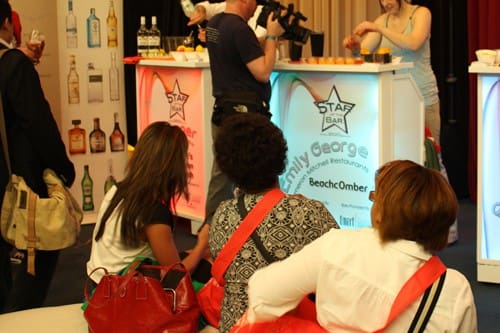
Portable bars rentals are popular for various reasons. They offer flexibility, convenience, and the ability to create a designated space for serving drinks at an event without the need for a permanent bar setup.
This can be particularly useful for outdoor events, weddings in non-traditional venues, or any gathering where a bar is not readily available.
Contact SmartBar and choose your mobile bar for events!


HIGHLIGHTS
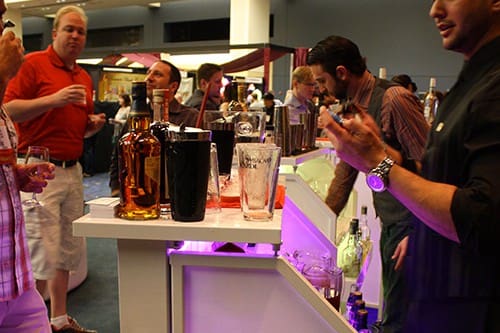
The smaller version professional portable bar at 3 feet wide it weighs only 75 lbs. It comes with 1 folding speed rack, 1 ice bin, 1 cutting board. Bar in a Box offers the option to add multi-color programmable LED lighting with handheld remote control. It folds flat to 7 inches in 20 seconds. Combine 2 units together for a unique 6 foot wide stretch with no counter gaps. It’s waterproof & weatherproof!
What Is It?
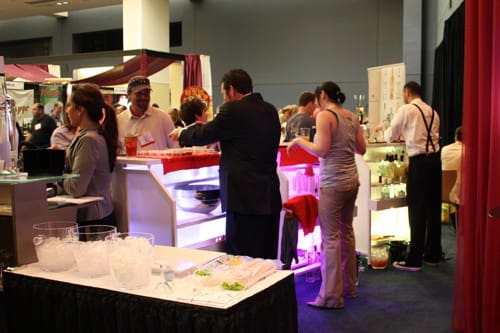
A portable bar rental is a service that provides individuals or businesses with a temporary and movable bar set up for events and gatherings. These bars are designed to be easily transported and set up at various locations, such as parties, weddings, corporate events, festivals, or any occasion where beverages need to be served.
Check out our commercial portable bars for sale!
Bar-in-a-Box Set-Up Instructions
1. Bar-In-A-Box comes folded to 5 inches!
2. Open right door to stabilize bar.
3. Open left door to stabilize bar. Front casters also lock for extra stability
4. Pull up top counter & place front corners on frame hooks.
5. Pull down lower shelf & place front corners on frame hooks.
6. View of frame hooks. Be sure to secure in place on left & right.
7. Locate top counter & hardware(wrench, allen key, bolts, buts, washers) for attaching.
8. Place counter on top of bar & situate holes evenly. Tab should face guest NOT bartender. Insert bolts in holes & tighten.
9. Insert ice bin into left side next to cutting board.
10. After speed well is assembled, attach to front of bar left & right screws.
11. Adjust top counter height & level by turning rubber nib on frame. Lock front legs by turning clockwise.
12. Your Bar-In-A-Box is ready for use!
Speed Well Set-Up
1. Speed well consists of 5 plates. Back will have 2 holes for attaching to bar.
2. Hook end plate into notches in front plate.
3. Hook end plate into notches in back plate.
4. Be sure orientation of both end plates “bend” is toward bottom.
9. Use hand held remote control to change LED colors, speed, effects.
10. If you have a printed front panel to insert, slide front white polycarbonate panel up slightly to insert print flush against it.
11. Printed panels are removable. They come with a protective layer of film. Peel off film carefully from corner prior to inserting print.
12. If you need to change side panels – fold top to expose side door slot. Pull side panel out from the side.
5. Hook other end plate to front & back plate.
6. Place speed well bottom into base and secure it to bottom of plate’s inner seam.
7. Underside of left (inside corner) bracket you’ll find adaptor with plug. Plug into ground outlet to power LED lighting.
8. If you have purchased an optional battery, place on bracket. Connect battery to controller box.


Customer Reviews
FAQs
How much storage space does Bar-in-a-Box require?
When folded (closed), Bar-in-a-Box is 36¼″ wide × 5″ deep × 52¾″ high, so it can be stored against a wall, in a closet, or in tight back-of-house spaces.
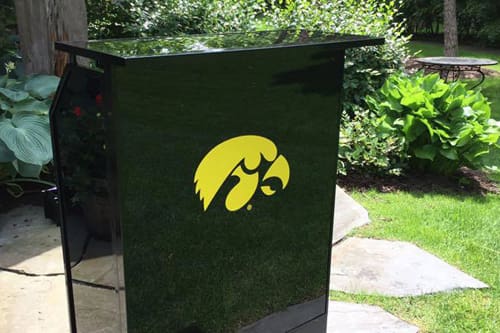
Can Bar-in-a-Box be used outdoors?
Yes. Bar-in-a-Box is built with durable materials suitable for indoor and outdoor use. We still recommend using standard best practices for weather protection in extreme conditions.
How many people are needed to set it up?
One person can easily roll, unfold, and set up Bar-in-a-Box in under a minute.
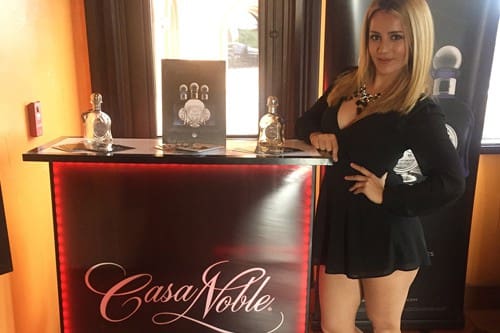
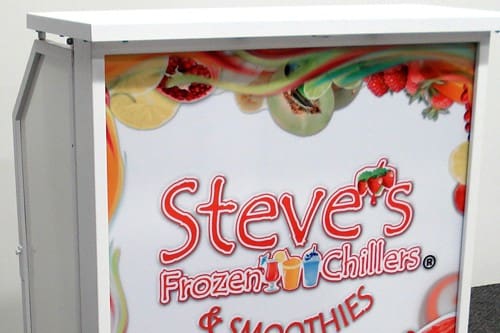
What branding options are available?
You can add custom printed panels with your logo, sponsor artwork, or promotional graphics. Panels are interchangeable so you can update designs over time.
Why Choose Us?
Ready to Add a Compact Portable Bar to Your Event Setup?
Share a few details about your venue, event volume, and how you plan to use Bar-in-a-Box, and our team will recommend the best configuration and provide a quote.